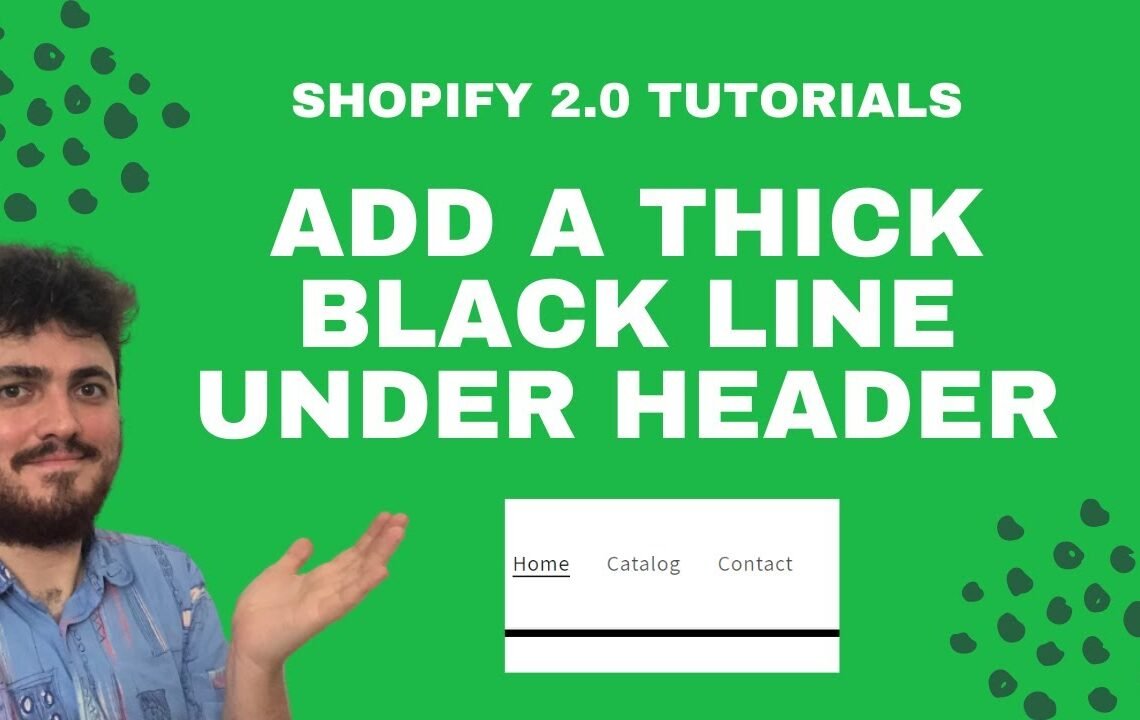
Add Thick Black Line Under Header Shopify 2.0 Tutorial All Themes | Dawn | Best Header Design
Are you looking to add a thick black line under the header of your Shopify 2.0 website? Look no further! In this tutorial, we’ll walk you through the steps to achieve this sleek and professional look for your website’s header. Whether you’re using the Dawn or any other theme, this tutorial will guide you through the process to create the best header design for your online store. With just a few simple steps, you can enhance the visual appeal of your website and create a more polished and cohesive look. Let’s get started!
Add Thick Black Line Under Header Shopify 2.0 Tutorial
All Themes | Dawn | Best Header Design
Hello guys and welcome to this very simple Shopify Dawn theme tutorial. In this video, the process of adding a black line under the header and creating a white space on top will be explained.
If one desires to bleed the banner into the black line, that is also possible. The code is simple and will be clearly explained. If you find the video helpful, please show your support as the creator has put a lot of effort into making Shopify videos to help people. The Dawn theme can be complicated, and many of the existing videos are outdated.
At the end of the video, there will be a playlist linking to all the up-to-date videos about Dawn theme that are currently being created. Without further ado, let’s dive into the tutorial.
Adding the Black Line and White Space
The default Dawn theme looks a certain way, but the creator prefers a nice black line in the header and a big white space under it for a clean look. To achieve this, the following steps can be followed:
- Go to themes and navigate to action and edit code.
- Open base.css file.
- Search for “header” in the code editor and look for section header.
- Add a border bottom property to create a black line under the header with the following code: border-bottom: 5px solid black.
- Save the changes and refresh the store to see the black line added.
- Additionally, add some white space by searching for “banner” and adding a margin top to the section image banner.
Make sure to save the changes and refresh the store again to see the white space added under the header. This will create a clean and professional look for the website.
Conclusion
More tutorial videos on specific tasks in the Dawn theme will be coming, as the creator is working on various aspects of Shopify. Be on the lookout for more helpful tutorials. Thanks for watching and hope this helps!
FAQ – Add Thick Black Line Under Header Shopify 2.0 Tutorial
What is the purpose of adding a thick black line under the header in Shopify 2.0?
Adding a thick black line under the header can help to visually separate the header section from the rest of the content on the website. It can also create a more polished and professional look for the website.
How can I add a thick black line under the header in Shopify 2.0?
To add a thick black line under the header in Shopify 2.0, you can use CSS to style the header section. You can add a border to the bottom of the header element to create the thick black line effect. Additionally, you can adjust the thickness and color of the line to suit your design preferences.
Does the tutorial apply to all Shopify themes?
Yes, the tutorial is designed to be applicable to all Shopify themes, including the Dawn theme. The CSS code used in the tutorial should work for any Shopify 2.0 theme, allowing you to add a thick black line under the header regardless of the specific theme you are using.
Is the Dawn theme specifically highlighted in the tutorial?
Yes, the tutorial mentions the Dawn theme as it is one of the popular themes for Shopify 2.0. However, the tutorial is not limited to the Dawn theme and can be used for any Shopify 2.0 theme to achieve the same effect.
I hope you find useful my article Add Thick Black Line Under Header Shopify 2.0 Tutorial All Themes | Dawn | Best Header Design, I also recommend you to read my other posts in my blog.
If you need help with anything join the community or do not hesitate to contact me.
Please consider joining my newsletter or following me on social media if you like my content.
Leave a Reply