Lightroom Tutorial – How I Edit My Pictures
Do you struggle with editing your photos in Lightroom? Are you looking for a quick and easy tutorial to enhance your photography skills? Look no further! In this blog post, I will share with you my personal process for editing my pictures in Lightroom. From basic adjustments to advanced techniques, I will walk you through my step-by-step approach to creating stunning and professional-looking images. Whether you’re a beginner or a seasoned photographer, this tutorial will provide you with valuable tips and tricks to take your editing skills to the next level. So, grab your laptop and let’s dive into the world of photo editing with Lightroom!
Introduction
Hey what’s up guys, ollier here! I recently released my Lightroom presets, which are my first collection of Lightroom presets. These presets show how I edit my pictures and are the exact presets that I use for editing my pictures and the style that you see across my Instagram and Twitter. You can find the link to those in the description below. In this article, I will show you how I edit my pictures using these presets.
Using Lightroom CC
I’m using Lightroom cc for this tutorial. However, the presets will also work on Lightroom Classic. Many people are now switching to Lightroom cc because all the presets are synced to their phone as well. This means that if you have the Lightroom cc app on your phone, all your presets will be available there, ensuring a consistent style across devices.
Editing with Presets
I have a few pictures in RAW format that I will be editing to show you how to use my presets. Shooting pictures in RAW allows for more flexibility in editing, making it a good practice. Let’s start by applying the presets to these images and making adjustments to achieve the desired look.
Applying Presets
The first step is to load the presets into Lightroom. Simply go to presets in the bottom right, press the three-dot icon, and import the presets. Once you have downloaded and imported the presets, you will find them under user presets.
Editing Pictures
Now, let’s move on to editing the pictures using the presets and making adjustments as needed to achieve the desired look. I will go through each picture and the adjustments made using the presets.
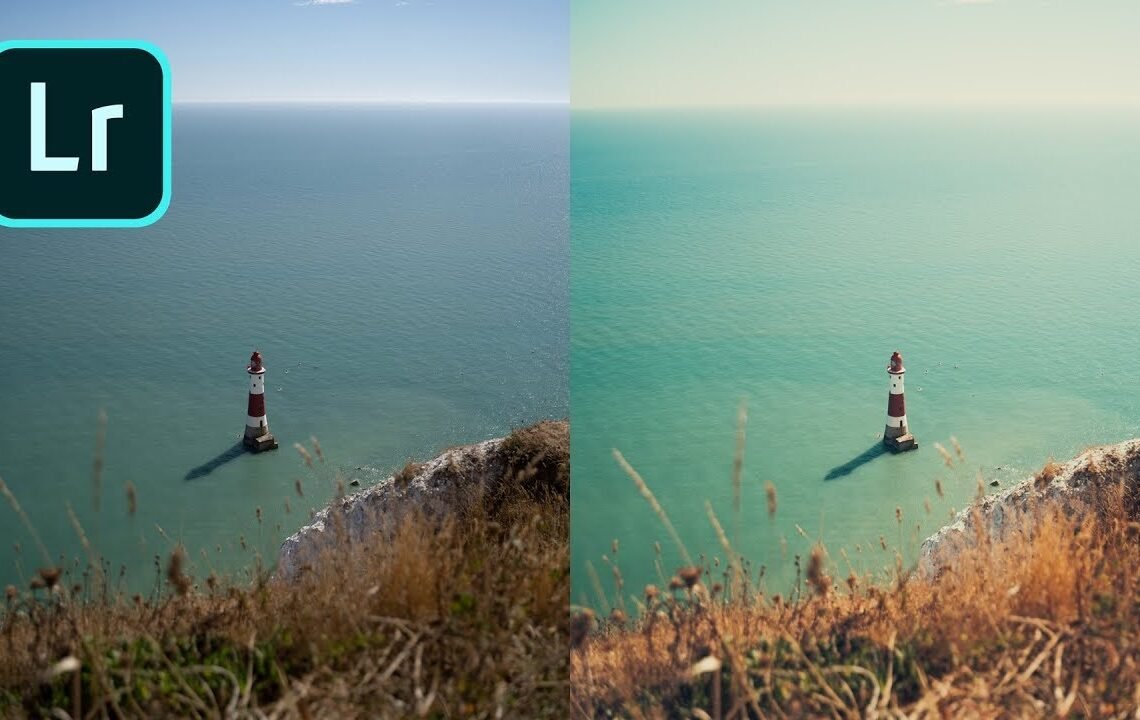
For the first picture, I applied a warm filter and made slight exposure adjustments to enhance the overall look. The process is simple and the difference is noticeable after applying the preset.
The next image followed a similar process, using a summery filter to achieve the desired vibe. The presets make a significant difference in the overall look of the image.
For the third image, which was initially dark, the benefit of shooting in RAW becomes evident. I applied my signature preset and made exposure and shadow adjustments to brighten the image, showcasing the power of editing raw images.
Moving on to the next image, a warmer vibe was achieved using a specific preset, with additional exposure and shadow adjustments to enhance the overall look of the picture.
In the following image, my signature look was applied using a preset, followed by exposure and shadow adjustments to achieve the desired effect, resulting in a visually appealing picture.
Finally, the last image, which was initially dark, was transformed into a minimalist look using a preset, combined with exposure and shadow adjustments, resulting in a striking image with a distinct style.
Conclusion
Editing pictures using presets in Lightroom is a straightforward process. Applying the presets and making adjustments to exposure, contrast, and other settings can significantly enhance the overall look of the images. The flexibility of shooting in RAW allows for more leeway in editing, making it a recommended practice. With the right presets and adjustments, achieving a consistent and visually appealing style across your images is easily achievable.
Lightroom Tutorial – How I Edit My Pictures
Q: What is Lightroom?
A: Lightroom is a powerful photo editing and organizing software developed by Adobe. It allows users to edit and enhance their photos, as well as organize them in a convenient manner.
Q: What will I learn from this tutorial?
A: In this tutorial, you will learn how to use various tools and features in Lightroom to edit and enhance your pictures. You will also learn about techniques for improving photo composition and color correction.
Q: Do I need to have any prior experience in photo editing?
A: No, this tutorial is suitable for beginners as well as intermediate users. It covers basic to advanced editing techniques, so even if you’re new to photo editing, you’ll be able to follow along and learn something new.
Q: What do I need to follow this tutorial?
A: You will need a computer with Adobe Lightroom installed. It’s recommended to have a collection of your own photos to practice on, but you can also use the sample images provided in the tutorial.
Q: How long will it take to complete the tutorial?
A: The tutorial is broken down into several sections, and you can complete it at your own pace. It typically takes a few hours to go through all the sections, but you can pause and come back to it as needed.
Q: Will I be able to apply the techniques to my own photos?
A: Yes, the techniques and tips covered in this tutorial can be applied to any type of photo. Whether you’re working with portraits, landscapes, or still life, you’ll learn universal editing principles that can be applied to your own pictures.
I hope you find useful my article Lightroom Tutorial – How I Edit My Pictures, I also recommend you to read my other posts in my blog.
If you need help with anything join the community or do not hesitate to contact me.
Please consider joining my newsletter or following me on social media if you like my content.
Leave a Reply