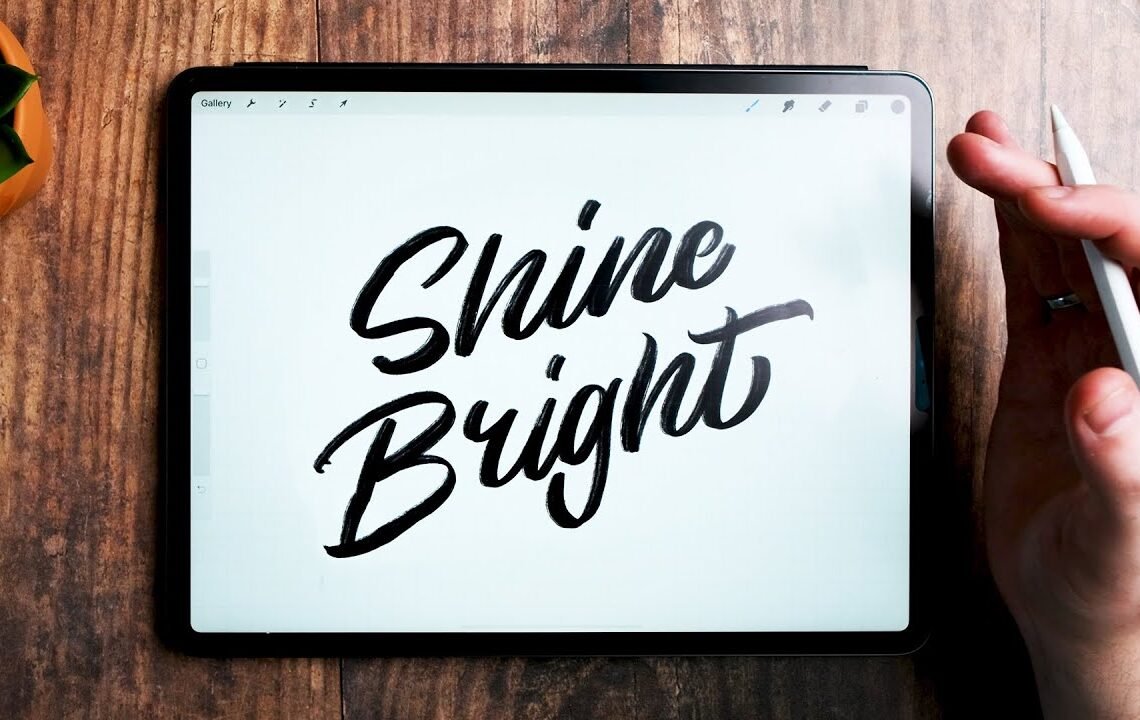
Procreate 5 Tutorial: Amazing Realistic Brushes!

Are you looking to elevate your digital art game with realistic brushes? Look no further! In this blog post, we will dive into the world of Procreate 5 and showcase some amazing realistic brushes that will take your artwork to the next level. Whether you’re a beginner or a seasoned digital artist, these brushes will bring a whole new level of depth and detail to your creations. From textures like fur and foliage to blending tools that mimic real paint, Procreate 5 has everything you need to bring your digital art to life. Let’s explore the possibilities together!
Creating Realistic Brushes in Procreate 5
Procreate is updating their app to version 5, and it promises to be the biggest update ever seen for Procreate. In this tutorial, we will explore how to create amazing, realistic brushes within Procreate itself. Whether you are looking to create calligraphy brushes, hand lettering brushes, or textures in black and white, this tutorial will guide you through the process.
The Brush Studio in Procreate
When you open Procreate and go into the brush panel, you can select a new brush to customize. This will take you to the Brush Studio, where you can make various changes to the brush settings.
Changing the Shape of the Brush
The shape of the brush is crucial in creating realistic brushes. You can import different shapes from the source library and adjust them to your liking. Experiment with different shapes until you find one that suits your brush style.
Adding Texture with Grain Source
To make your brush look more weathered and realistic, you can add texture using the grain source feature. Import a grain source from the library and adjust its settings to achieve the desired effect. Experiment with different textures to find the one that best fits your brush design.
Adjusting Contrast and Blend Modes
Changing the contrast of the brush and experimenting with blend modes can enhance the realism of your brush strokes. Play around with different settings to achieve the desired look, whether you want a more weathered or smooth brush effect.
Fine-Tuning Brush Settings
Once you have customized the shape, texture, contrast, and blend modes of your brush, you can further fine-tune the settings to refine its performance. Adjust parameters such as movement, scale, spacing, and size compression to optimize the brush for your specific needs.
Testing and Previewing Your Brush
Before finalizing your brush design, it’s essential to test and preview it in different sizes and colors. Use the drawing pad to see how your brush performs across various settings and make any necessary adjustments to ensure its functionality.
Conclusion
Creating realistic brushes in Procreate 5 is a rewarding process that allows you to unleash your creativity and enhance your digital artwork. By following the steps outlined in this tutorial and experimenting with different settings, you can craft unique brushes that elevate your Procreate experience. Stay tuned for the release of Procreate 5 and unleash the full potential of your creativity!
Procreate 5 Tutorial: Amazing Realistic Brushes!
1. What is Procreate 5?
Procreate 5 is a popular digital drawing and painting app for iPad, known for its powerful features and tools for artists of all skill levels.
2. What makes Procreate 5 brushes realistic?
Procreate 5 offers a wide range of brushes that are designed to mimic traditional art tools, such as pencils, paints, and markers. These brushes are created with advanced settings for texture, pressure sensitivity, and more, making them feel like the real thing.
3. How can I access amazing realistic brushes in Procreate 5?
In Procreate 5, you can access a variety of high-quality brushes through the app’s built-in brush library, as well as downloading custom brushes created by artists and designers from the Procreate community.
4. How can I learn to use and customize realistic brushes in Procreate 5?
There are many tutorials and resources available online for learning how to use and customize brushes in Procreate 5. You can also explore the app’s settings and experiment with different brush settings to create your own unique effects.
I hope you find useful my article Procreate 5 Tutorial: Amazing Realistic Brushes!, I also recommend you to read my other posts in my blog.
If you need help with anything join the community or do not hesitate to contact me.
Please consider joining my newsletter or following me on social media if you like my content.


Leave a Reply