Master Brush Calligraphy: Step-by-Step Beginner’s Guide
Have you ever wanted to learn the beautiful art of brush calligraphy but didn’t know where to start? Well, you’re in luck! In this beginner’s guide, we will take you through the step-by-step process of mastering brush calligraphy. Whether you’re a complete beginner or have dabbled in calligraphy before, this guide will provide you with all the tools and techniques you need to create stunning calligraphy pieces. From understanding the basic strokes to forming letters and words, we’ve got you covered. So grab your brush pen and let’s get started on this creative and rewarding journey into the world of brush calligraphy!
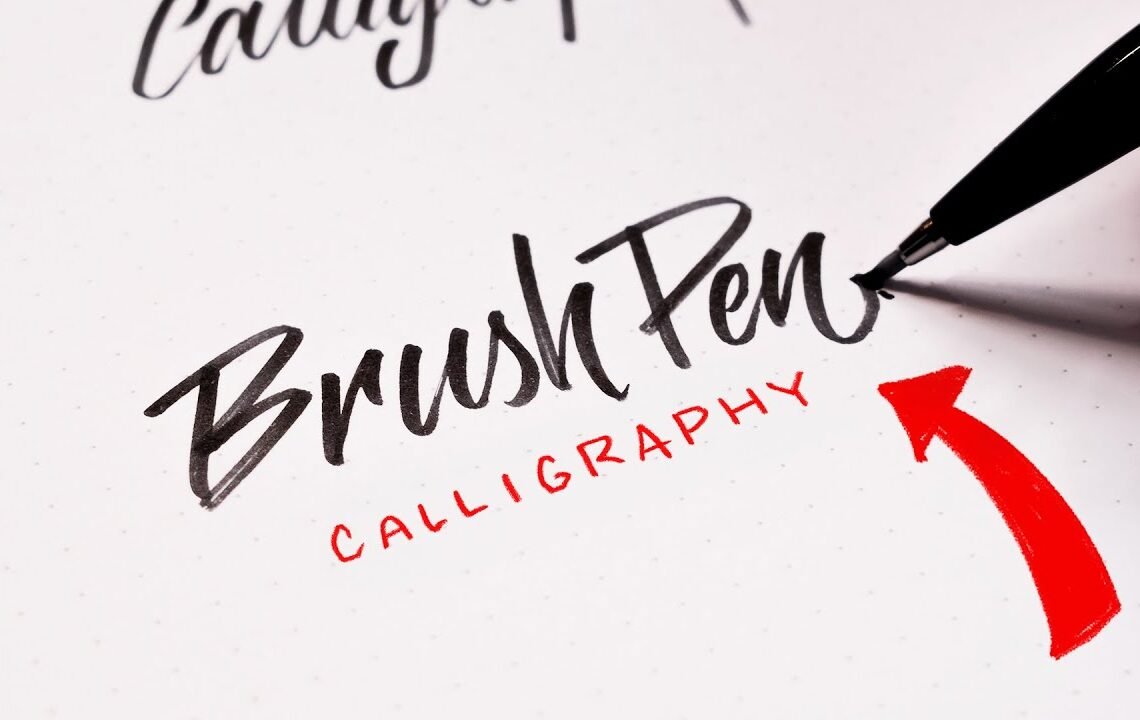
Introduction
I’ve designed hundreds of logotypes over the past decade but there’s one method I used to get the best results brush lettering if you’re part of the original crew on this channel you’ll know that I did a lot of hand lettering and brush calligraphy. So today, I’m going to give you a beginner’s guide to brush calligraphy and how that can help you with logo design.
What Tools to Use
Now it may look similar to just a normal marker, but with every brush pen what we want is the ability to have thin strokes and thick Strokes like so. What a brush pen does is it allows you to apply pressure onto the pen to change the thickness. A lot of the time brush pens aren’t very good at this because they sort of wear out and a real brush wears out too much so what we want is a brush pen that has a consistent base and this does really well and it fits in the hand and it’s very cheap. Now if you want this brush pen I’ll link them down below but there’s a few others that you could get.
Using Brush Pens
First thing you need to know about brush pens is how to use them. The trick with a brush pen is knowing when the thicks are thick and the thins are thin. There’s this drill that we can do. This drill essentially is The up down drill so what I first want you to do is on the downstrokes coming towards you I want you to push down and you’re pushing down at the side of the pen like this and I want you to sort of push down at the same angle try and keep Them quite consistent. Once you’ve done this a few times and you’ve got a consistent thickness going down we want to do The Opposite and go up so down below I’m going to go up and just do a few of these but on the up we are not pushing we are applying no pressure at all and we’re trying to keep it to the same angle what this is doing is it’s Training you for a drill we’re about to do which is how brush pens work essentially everything that goes upwards is thin and everything that comes down is thick that is the system that is the key if I was to draw let’s say the word minimum every time I come down it’s Thick and when I go up it’s thin that’s what gives us the consistency that we’re looking for in a brush pen it’s that system so now that we’ve got this drill sorted what I want you to do next is we’re going to apply these together first of all we’re going to do It quite simply the best way of me showing you this is simply by coming up and down up and down up and down we’re creating these sort of arrows that’s nice up light pressure down now when we’re applying pressure we’re not actually applying pressure down on the Pen like this we’re applying pressure to the side of the pen now something else I like to teach is that my hand doesn’t move my arm moves when I go up like my whole wrist is moving and I’m applying pressure down with my hand not onto the Pen that just makes it so that you get these nice consistent lines once you’ve done this and you’re kind of happy with it it might take a minute to get that contrast in there we’re going to move on to the next drill which is to essentially do the same thing but we’re Going to add a roundness to it so we’re going to go up and down now we do this and it can get a bit hard but just stick with it up and down up and down up and down and we just continually do this we’re looking for significantly Consistent angles and thickness we want every single one to be just like the other so you see now we don’t have a sharp corner we actually just have like a really nice consistent angle coming down okay what now well we go on to the next drill and I promise you this is one Of the final drills to learn the brush pen we go on to joining everything together this is bringing it all together as one so we’re going to come up start on the up down and we’re going to go up down up down up down up up down Up and then if you go a bit spicier if you’ve got the uh konas just go up and down and it gets harder and harder as you go I sort of limit it to three now what this is doing is it’s training your brain that when you have an upstroke You’re automatically going thin so when you see me doing brush lettering or someone else their muscle memory is telling them how much pressure to put on that pen it gets to the point of where you don’t really think about it anymore so I could go very consistent on this.
Creating Letter Forms
So now that we’ve done the drills what these allow you to do is understand how letter forms are created. Using those drills of up and down up and down we can actually use them for different letter forms. So how do we create let’s say the letter N? Well the letter N is essentially the downstroke the up down and up like so; down up down up 1 2 3 4 that is the construction of the letter N. The cool thing about learning the letter n is that you can actually create a load more letters just from this one. I’m going to leave a worksheet down below for you so you can work on top of it.
Now that we’ve gone through the basics, you can start practicing your brush calligraphy and see how it can improve your logo design skills.
Master Brush Calligraphy: Step-by-Step Beginner’s Guide – FAQ
What is brush calligraphy?
Brush calligraphy is a form of calligraphy where a brush is used to create thick and thin lines, resulting in a beautiful and expressive writing style.
Do I need any prior experience to start learning brush calligraphy?
No, this beginner’s guide is perfect for anyone who is new to brush calligraphy. The step-by-step instructions will walk you through the process of learning this art form.
What materials do I need to get started?
To begin learning brush calligraphy, you will need a brush pen, practice paper, and a guide sheet. These materials will help you get comfortable with the brush strokes and letter formations.
How long does it take to master brush calligraphy?
Like any skill, mastering brush calligraphy takes time and practice. Some people may pick it up quickly, while others may need more time to develop their skills. With consistent practice, you can improve and advance your brush calligraphy abilities.
Where can I find additional resources for learning brush calligraphy?
There are numerous online tutorials, books, and workshops available for those who want to dive deeper into the world of brush calligraphy. Look for resources that offer guidance on different styles, techniques, and tips for improvement. Additionally, joining a calligraphy community or group can provide valuable support and inspiration.
I hope you find useful my article Master Brush Calligraphy: Step-by-Step Beginner’s Guide, I also recommend you to read my other posts in my blog.
If you need help with anything join the community or do not hesitate to contact me.
Please consider joining my newsletter or following me on social media if you like my content.
Leave a Reply